Originally printed in the July/August 2024 issue of Down Country Roads Magazine
The sun-drenched days are already growing shorter, and before too long the shadows will lengthen a bit and remind us that summertime doesn’t last forever. But it is still the season to wring out every drop of sunlight from each blessed day, drinking in the warmth and the light that is so scarce at other times of the year.
Wringing it out, wringing it out, soaking it in and wringing it out.

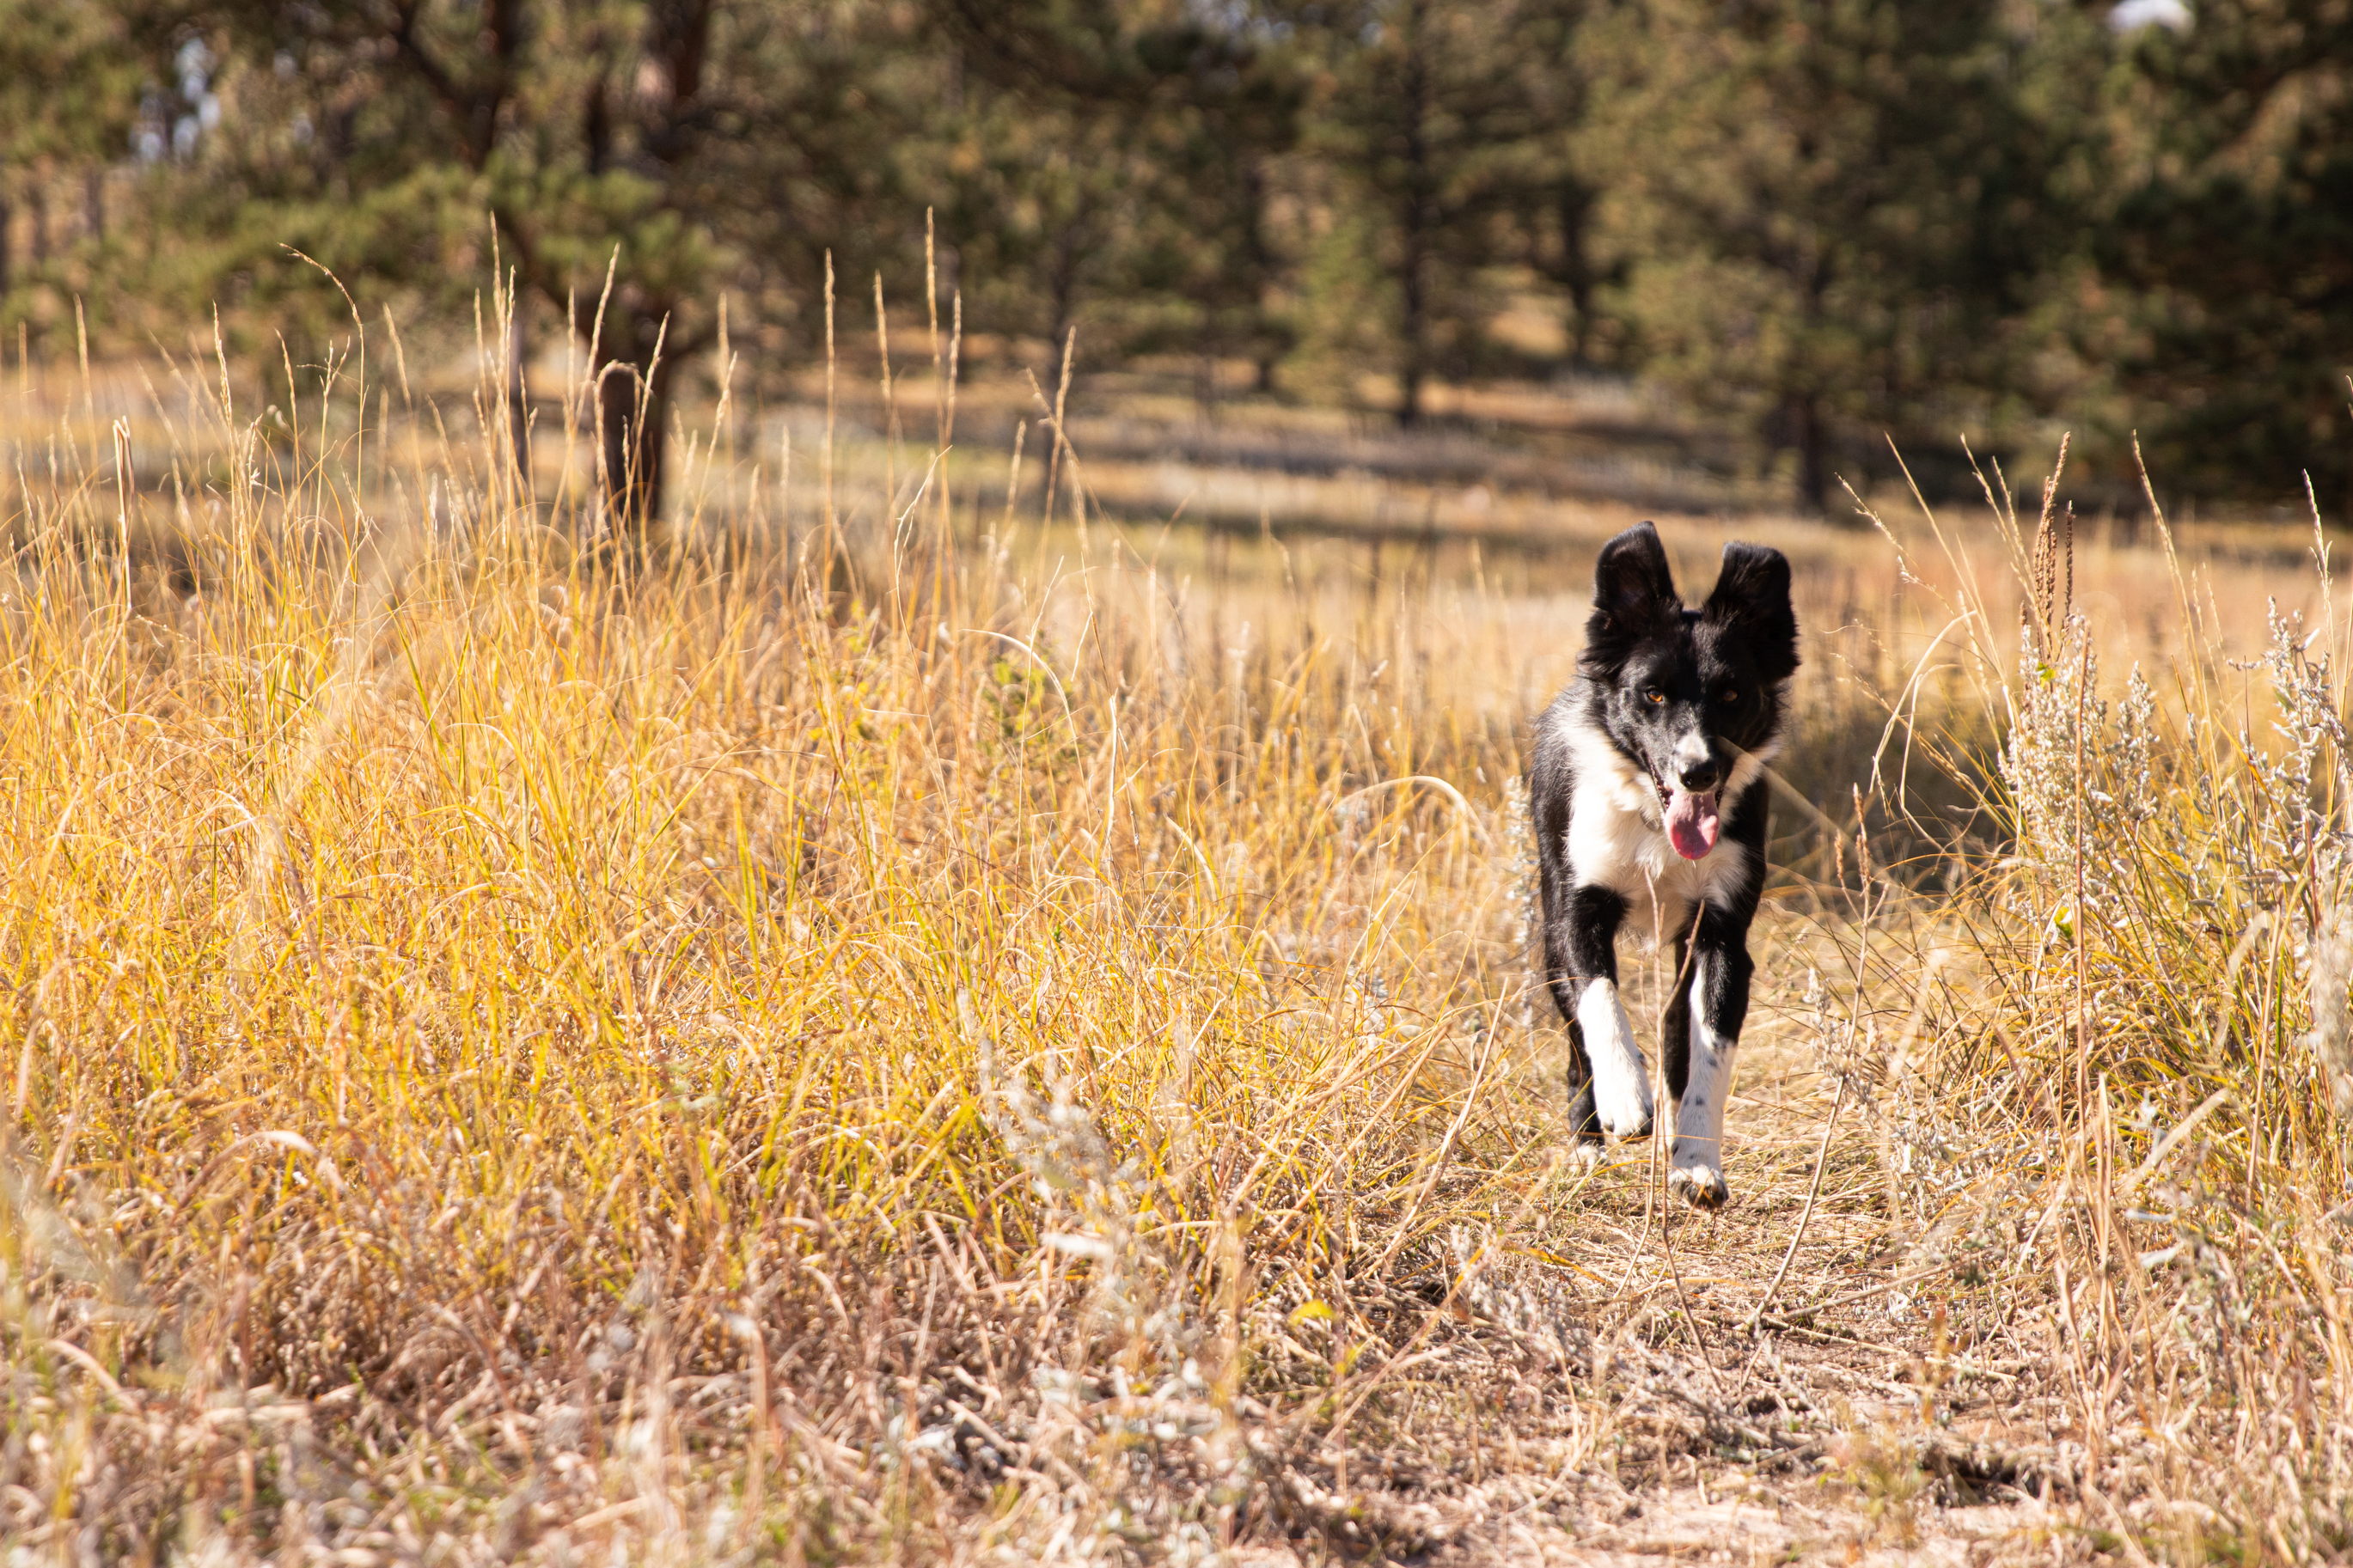
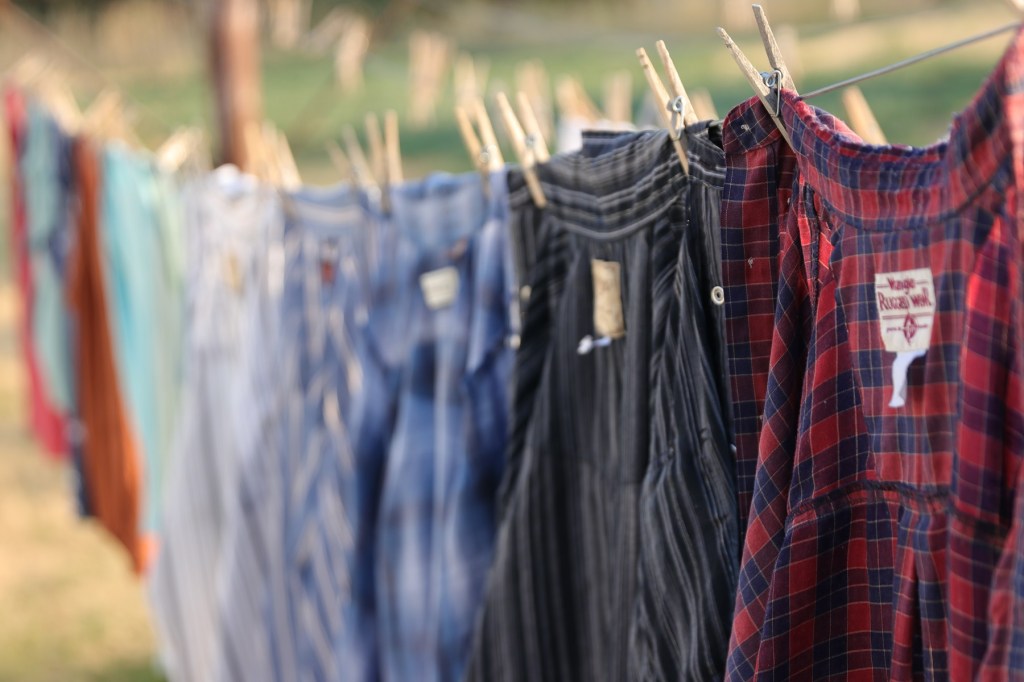
Wringing it out, like savoring those early morning sunrises. The cool freshness of the day’s beginning, stirring the curtains and bringing the outside in. A woodsy ramble when the grass is still damp. The first breath of heat when the sun is yea-high. Garden puttering, throwing water, pulling weeds, up to the elbows in productivity and partnership with earth and sun. The snap of towels hanging on the line to dry, or my husband’s snap-front shirts. The heat of sun on uncovered head, the quiet, rhythmic work of laundry day. The cool of grass under bare feet. Digging my toes into good, black dirt. The low drone of bees busy in the flowers, the sweet singing of the crickets. The comical play-acting of the killdeer, the swift flight of the barn swallow, the bubbling up and overflowing melody of the bobolink in the hayfield, rivaling the meadowlark as the summertime songster, dipping and diving in the alfalfa, a little black-and-white-and-yellow speck of a songbird.
Oh, these days!
When the sun nears the evening sky and sinks low, the ridge to our west casts first the house, then the barn, then the hayfield, into its lengthening shadow which races to the horizon. Far to the east and a little to the south, Sheep Mountain Table gleams pink in the afterglow. The windows of the house get thrown open, bringing the coolness in, and nighttime falls, softly and sweetly, and the first of the summer stars appear in the pink and lavender sky.
We take the warm, sweet memories of these days with us into the shorter days of winter.
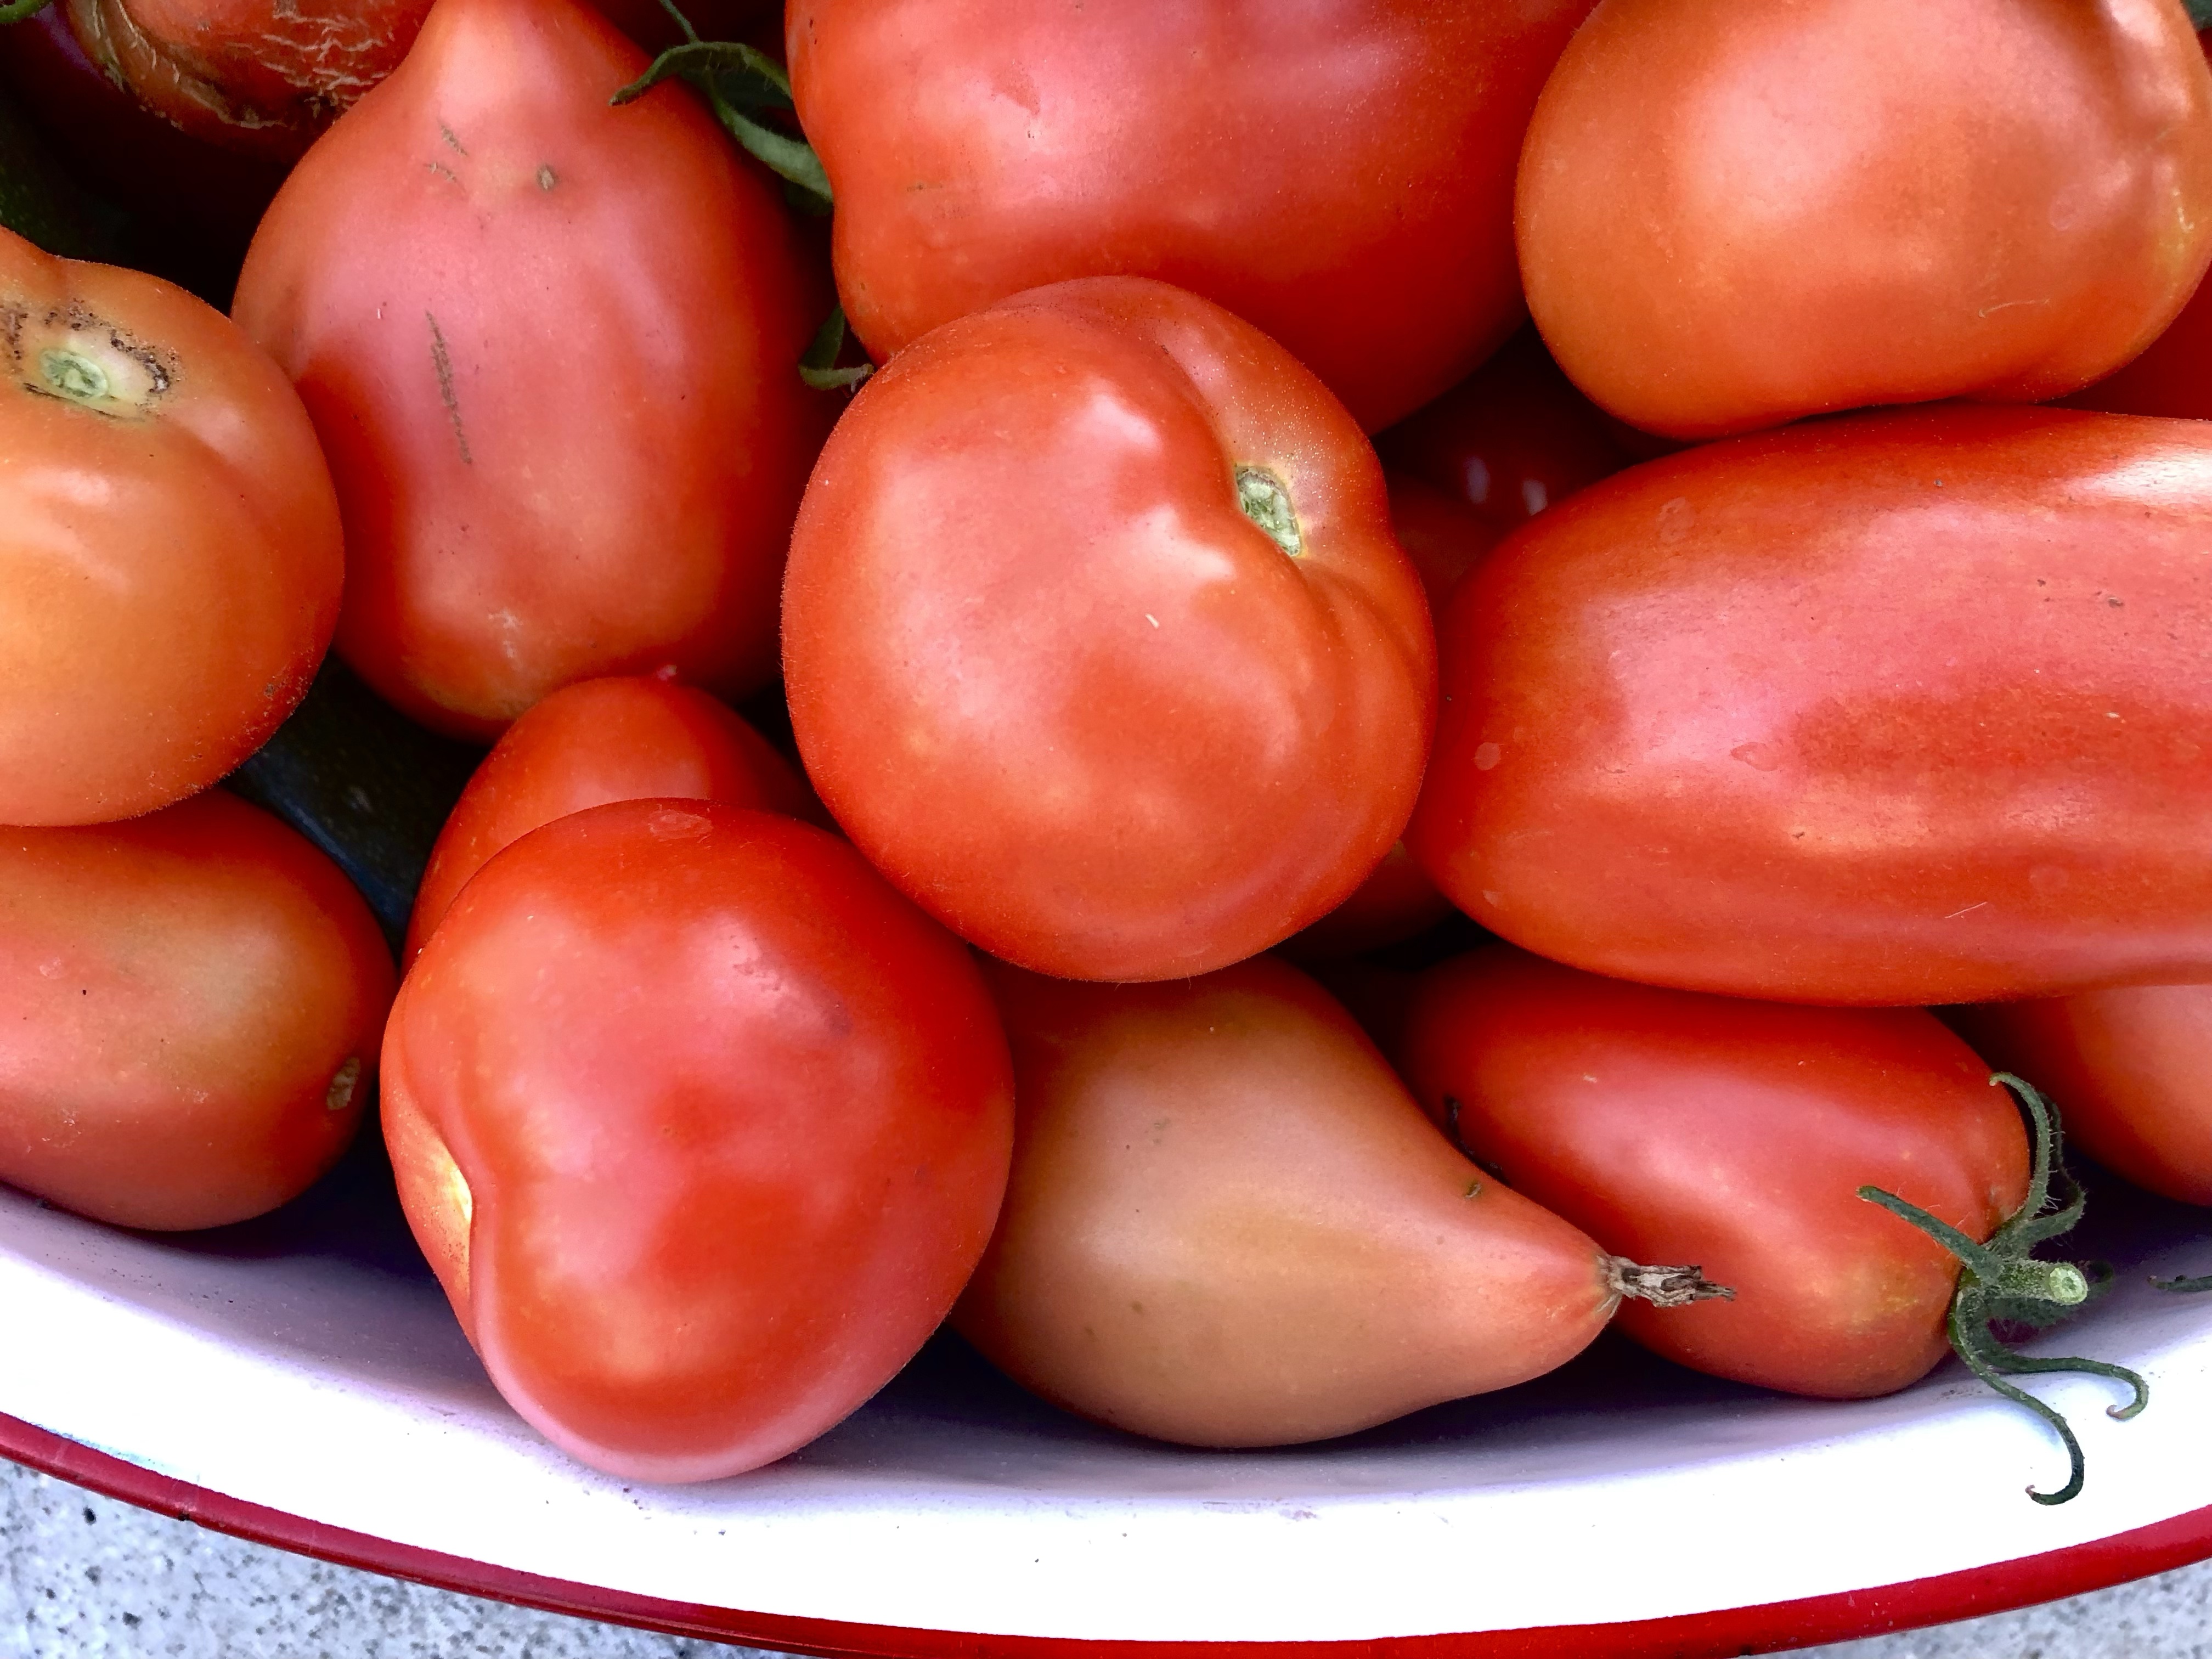
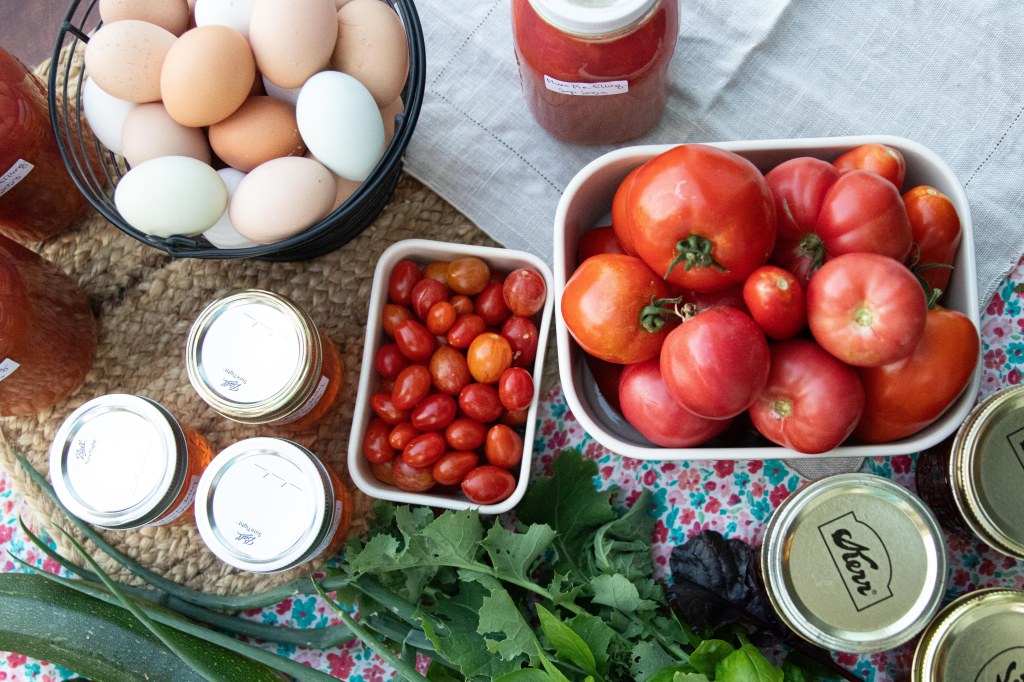
The sweetness, like the first of the sun-ripened, still-warm tomatoes, bursting in your mouth, fresh off the vine. The sweetness, like a cold glass of sun-brewed iced tea after a sweaty morning of work. The sweetness, like a pail of wild-harvested fruit and a glittering, gleaming row of jelly jars, still piping hot. The sweetness, like the sound of rain, gentle rain, sweet rain, and the low roll of thunder.
And then, maybe best of all, is the intoxicating sweetness of the sun-warmed pines. Can you smell it? It brings back impressions of my earliest childhood, recalls some of my happiest memories in what would one day become my home. I remember piling out of our minivan, myself and my three sisters and parents, piling out at the end of a 1000-mile journey, piling out at the top of a sun-baked hill in the glorious middle of nowhere near Hermosa, piling out and breathing deep of that wonderous smell – The pines! And there at the end of a little gravel sidewalk was a house made of rough-cut lumber with my grandparents waiting for us, and a joyful two weeks of summer vacation ahead, to be filled with hikes and rambles and Grandma’s 24-hour dill pickles. Almost ten years ago, we came and never left. But my heart still skips a beat when I smell the piney, resiny breath of summertime.
We can do without the havoc-wreaking hail that summer brings, or the dry lightning that sparks a fire, but somehow those aren’t the things we remember in the deeps of January. We remember and yearn for the sunrises and the sunsets and the sunkissed faces. And we long to wring out the sunlight, wring it out and drink it deep.
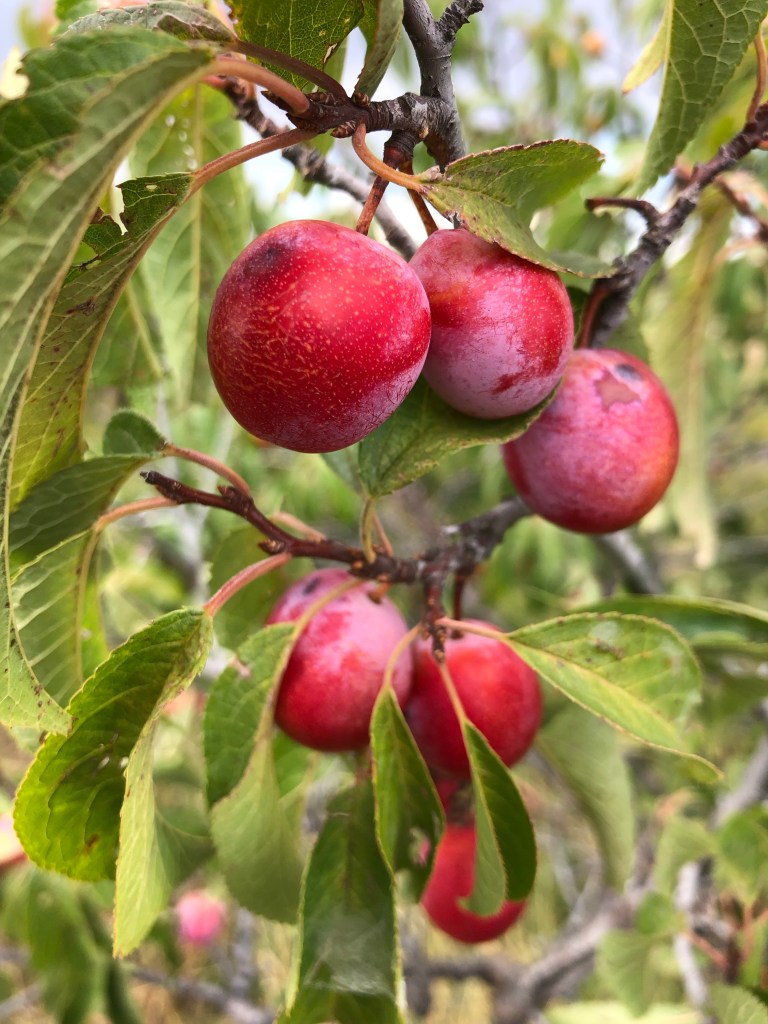
So, take the ramble, taste the wild plums, listen to the meadowlark, watch the sunsets and hunt the wildflowers. Wring it out, every last drop of beautiful summertime sunlight. It is days like this that get us through the long, dark nights of winter.