I absolutely love to can. Love it. I enjoy the simplicity and heritage nature of the task, I love the fragrances that fill the house, and the satisfaction of rows upon rows of glistening, beautiful jars of jams, jellies, butters, salsas, and sauces. And I love tasting the fruit of that work months (and sometimes years) later.
But canning can be a daunting task. Here are some tips and tricks that I’ve picked up over the years for helping my work day to go smoothly and enjoyably. Like with most things, I’m guessing everyone who has canned for any length of time has developed their own methods and tricks, so I am not claiming any expertise, only sharing what works for me!
1. First and foremost, have a plan! This may seem like an obvious one, or perhaps not, but unlike a lot of kitchen-related projects, until you’ve been canning for awhile there are a lot of things you might not readily have on hand, or things that don’t get replaced often and maybe expired since the last time they were used. Make sure you have what you need. The last thing you want is to get neck deep into a canning recipe and realize your lemon juice is a year out of date or not have your jam set up because the pectin was three years old! Canning is laborious enough without those added inconveniences.
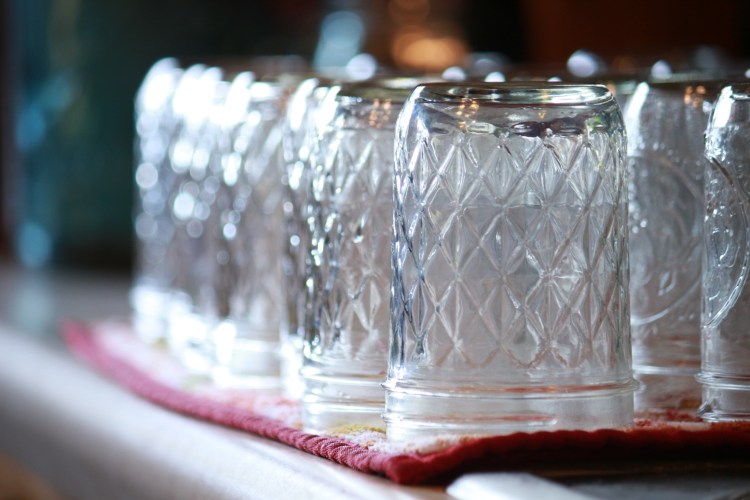
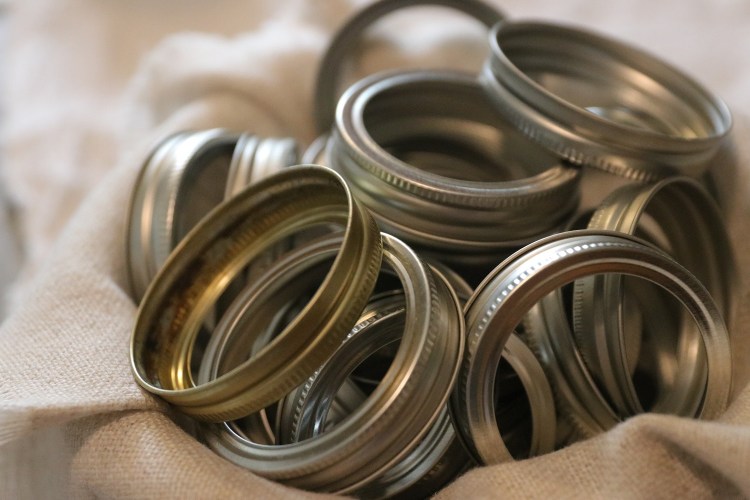
2. Have the right equipment. Although you don’t technically need a specific water bath canner and jar rack, and although you can use a regular old stockpot and either a trivet or towel in the bottom for the jars to sit on (options I resort to if I have a multi-batch of something, especially since two water batch canners would hardly fit on my stove…), it really does help if you have some very basic equipment. Aside from the canner and canner rack and the jar picker-upper, my can’t-do-without tools of the trade are a headspace tool and a jar funnel. These are most definitely optional, but it is amazingly difficult to estimate 1/4 inch headspace correctly and having a funnel sure makes it easier to keep the jar rims and threads clean!
3. Be redundant. Although there are many situations where more is NOT better, I find that in canning, it is always best to have extra. Of just about everything. If you’re just getting started in canning and you don’t have a large stash of jars, splurge the extra $12 for an extra package of jars, just in case (they’ll get used!), and get an extra package of lids as well. You never know when your plan you so carefully laid above goes a little off kilter. A batch of whatever you thought would make six half pints turns into ten, but you only planned for six jars! Keep extra of important ingredients like pectin, sugar, and lemon juice. You bought that 1lb bag of sugar instead of the 5lb bag, but you made a huge batch of cookies for church potluck and now you are short, or you spilled your coffee all over your pectin and spoiled it. It creates unnecessary hassle to run out of ingredients midway through (goes along with having a plan). Have a few extra large bowls on hand, an extra stockpot ideally, spatulas, ladles, etc. I always surprise myself how many different spatulas or bowls or measuring cups I end up using (usually because I end up tasting something and throwing the utensil in the sink).
4. Do as much prep as possible ahead of time. It’s annoying to be on a roll getting things going, only to come to a stand still because I forgot to round up my jar rings. Or for the project to take two hours extra because I didn’t realize how difficult the fruit would be to prep. Wash your jars the night before so you don’t have to do that while you’re trying to get going on your food prep. Prep the fruit and veggies the night before as well. Not having to spend 3 hours pitting plums or grating zucchini sure speeds everything up.
5. Get an early start! For one, you beat the heat. There’s nothing like standing over a steaming canner or stirring a jar of hot sauce when the temps in the house are creeping up. I love to work with the windows open when it is cool outside. For second, I am really, really good at estimating my time multiple hours short of what it actually ends up taking. I’d rather start early and think I’ll be done at noon but really be done at 2:00, rather than starting at noon…you get the picture.
6. Before you do anything else, start heating water in your canner! This is a huge time saver. While it can be tempting to try to be efficient in the stove usage and wait to start heating the water until you think it’ll boil right when you need it, don’t do this to yourself. Go ahead, let it boil or at least get close, and then just keep it at a simmer until you’re ready for it. It is annoying to be ready to process filled jars and the waterbath canner isn’t hot yet. And a watched canner NEVER boils. It might have been ten minutes away from ready but if you need it now, it will take an extra hour to heat up, just for you.
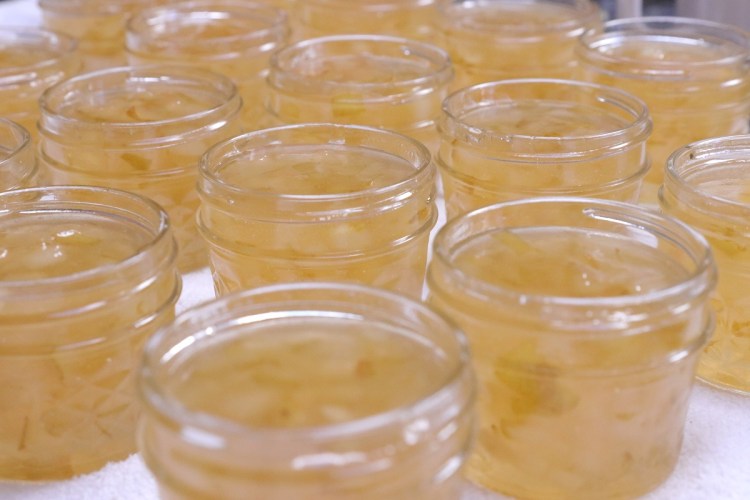
7. Let your jars heat with the water. This relates to hot prepared foods. And no, this isn’t to sterilize them. Sterilizing is no longer recommended for food products that will be processed for at least 20 minutes, but this more an immediate safety issue, and saves you from ruining a batch of something by having a jar break. Keeping the jars hot gets them ready to fill with the hot jam or sauce or whatever it is, and then they’re also less likely to break when you return them to the waterbath.
8. Put a splash of white vinegar in the water bath. This is one of my favorite little things to do because it really does pay off in the end! We are on a well and have delicious water, but with that comes a high level of minerals that leaves an unattractive white filmy sediment on all my beautiful jars. A splash of vinegar makes for clean jars. Save yourself the headache of having to wipe everything down later!
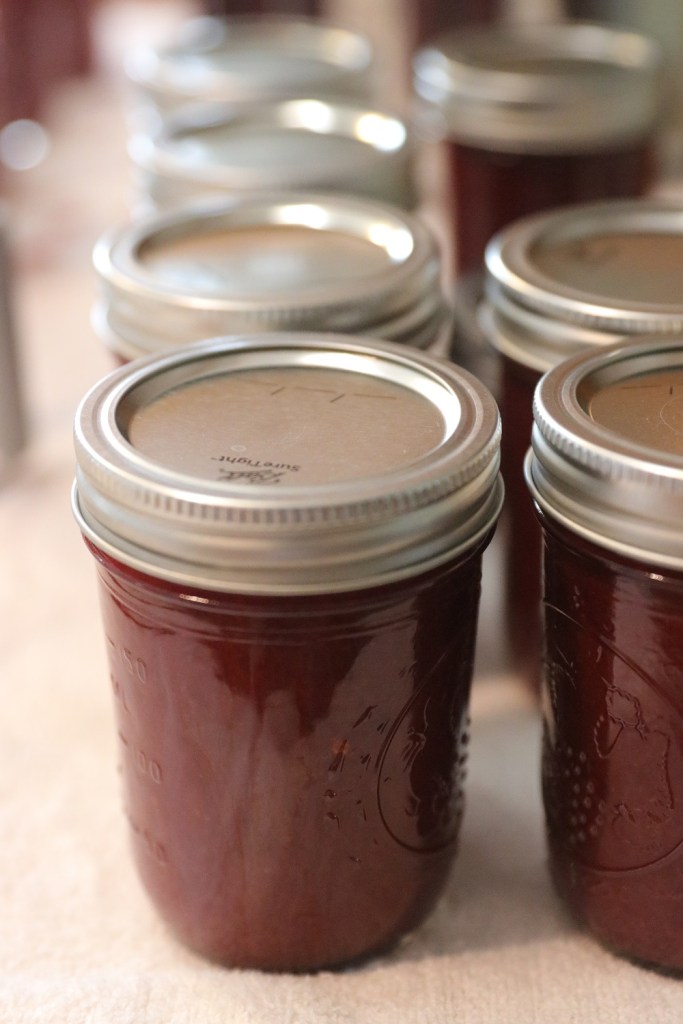
9. Clean those rims! Really! Don’t shortcut this task. It is very frustrating to be three minutes away from being done with a project that has taken half or all of the day, only to not have jars seal because I failed to clean the rims well! Save yourself the headache.
10. Keep a tidy workspace. I dislike working in chaos, so keeping things tidy helps me work more efficiently. I like to have all my clean jars in one spot, my jar lids and rings ready to go nearby, and towels covering all my counter space to make cleanup easier. I keep track of my dirty dishes and bowls and utensils and try to keep them from scattering, and get things soaking as soon as they’re emptied. Cooked sauces and jams or butters can really cook on to whatever they were in, so don’t wait until the very end to start thinking about cleanup on them. There can be quite a bit of downtime while canning, so putter away at those dishes so you can wrap up when that last jar pings!
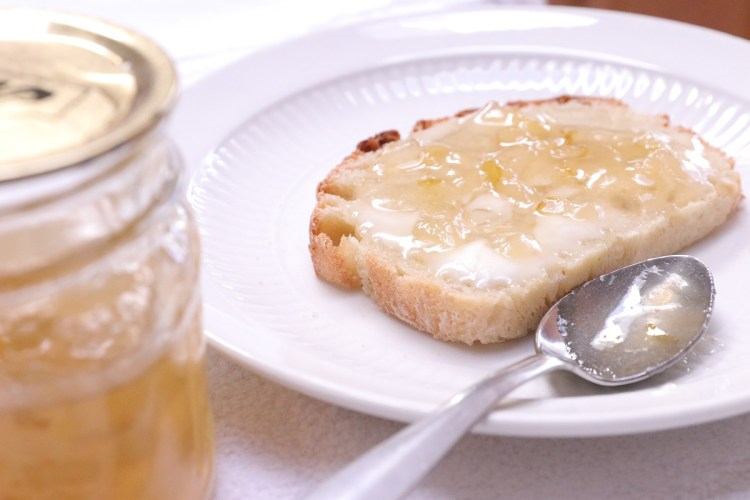
11. Last but not least, taste and enjoy. There’s nothing like slathering a slice of toast with my own fresh jam or dipping a tortilla chip in fresh salsa. You won’t be regret having some good bread or a bag of tortilla chips on hand, for just such an occasion, and your family will thank you as well.
I hope this little list can help streamline your projects, and maybe make canning feel a little less daunting!
What other tips and tricks would you share with other canners? Leave a comment below!


You don’t always have to use a water bath. When I make jam I wash the jars and place the lids and rims in hot water. I fill each jar, clean it, place on the lid and tighten, flip over for about 15 minutes, turn back over, and it should ping in a few minutes. If it doesn’t, then it didn’t seal and needs to be used. I’ve never had a jar not seal. Can’t be done with everything, but it works for jam.
LikeLike