In the Kitchen | Sourdough Biscuits

This delicious sourdough biscuit recipe is shared from the book Bacon and Beans: Ranch-Country Recipes, a Western Horseman book by Stella Hughes, published in 1990. It is a pretty foolproof recipe, comes together quickly, and with the addition of some baking soda you are just about guaranteed some fluffy biscuits!

Ingredients:

1/2 c. sourdough starter
1 c. milk
2 1/2 c. flour
3/4 tsp. salt
1 tbs. sugar
1 tsp. baking powder
1/2 tsp. baking soda
bacon grease or butter, melted

To Make:

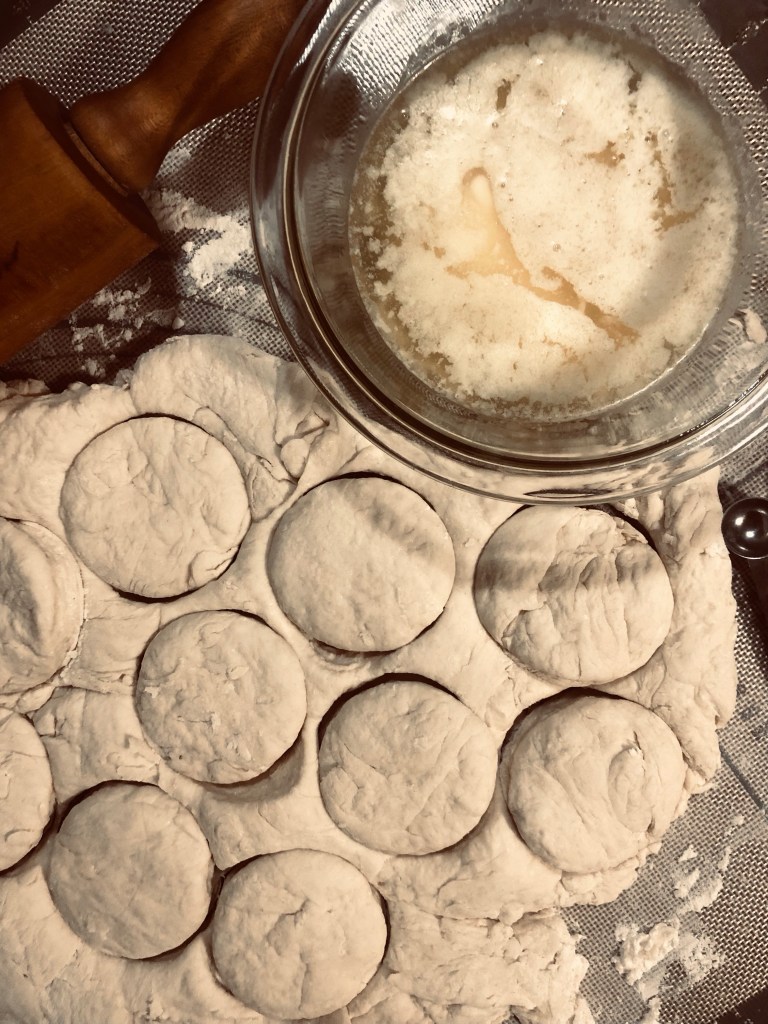
Mix starter, milk, and 1 cup of flour in a large bowl and let sit for 8 hours or overnight. Cover with a towel and keep in a warm place. When ready to use, turn sourdough batter out onto clean surface with 1 cup of flour. Sprinkle salt, sugar, baking powder, and baking soda over the top of the batter, followed by the remaining 1/2 cup of flour. With hands or a spatula, mix dry ingredients into dough, kneading lightly. Handle as little as possible! Roll out approximately 1 inch thick and cut with biscuit cutter. Dip in melted bacon grease or butter, and place in a baking pan. Let them touch, but don’t overcrowd. Let rise in a warm place for about a half hour, and bake at 375 degrees for 30 minutes or until they are golden brown. Makes about a dozen biscuits.

Notes:

Handle the dough as little as possible to keep biscuits from getting tough. It can be difficult to get all the flour incorporated–Don’t worry about it! Instead of kneading, I try to stretch and fold to incorporate the dry ingredients into the dough, but don’t try to get the dry ingredients all moistened or evenly smooth, or you will over-knead and have tough biscuits.

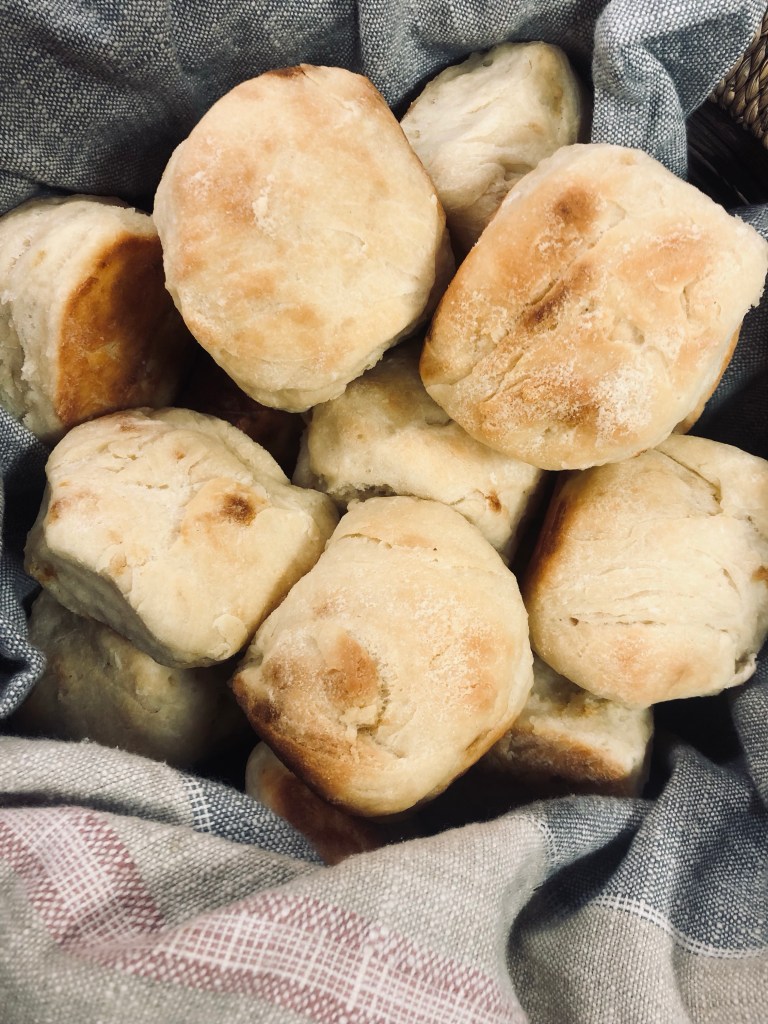
I find that a single batch fills a 9×9 baking pan, with a couple biscuits leftover, which I tend to cook in a separate smaller dish. Depending on how thick they are cut, obviously, you could stretch the yield on this recipe. There is a considerable amount of oven spring with this biscuits–they will puff up in the oven! They are served best fresh out of the oven, and I love to serve these with homemade butter and homemade jam! They’re always a hit.

Enjoy!


Recipes | Plum Ice Cream

Nothing says summer better than a bowl of the best, creamiest homemade ice cream! Usually I make peach ice cream, but I decided to use some of the plum pie filling I had canned this past fall, and the result was fantastic.

We were gifted a Cuisinart ice cream maker for our wedding, one of those random gifts that took us completely by surprise, and we have loved it! It is extremely simple to use, and the recipes are easy to modify. The mixing bowl just lives in our freezer to be used whenever desired, or it takes about 24 hours for the bowl to freeze before use, the recipes mix up in about 5 minutes and chill in the fridge for a few hours, and the ice cream itself is made in about a half an hour of mixing and freezing. Basically, it is just an easy and fun way to serve up desert for a group, without heating the house up on a hot day! This recipe is based off a Cuisinart recipe.

Ingredients:

1 1/2 cups plums or fruit from plum pie filling, pureed or chopped

3/4 cup whole milk (or half-and-half)

1/3 cup sugar

pinch of salt

1 1/2 cups heavy cream

A generous splash of vanilla

Directions:

Combine milk or half-and-half, sugar, and salt in a bowl and whisk until the sugar is dissolved. Puree the fruit in a blender, and add to the bowl, along with the cream and vanilla. Stir well, and refrigerated for at least two hours.

When chilled, pour into ice cream maker mixing bowl and follow manufacturer instructions.

Serve immediately when desired consistency is reached, or freeze for a harder ice cream.

Notes:

I mostly used the fruit from the canned pie filling, leaving the syrup behind, which happens to make excellent ice cream topping…Since there is sugar in the pie filling, and because I like things less sweet anyway, I cut the sugar back to 1/3 of a cup instead the 2/3 of a cup the original recipe calls for. If you use fresh plums, you might want to use the full amount of sugar. My original recipe also calls for whole milk, but I like using half-and-half instead, or at least adding some half-and-half to the whole milk for some extra creaminess (if I’m going to indulge in dessert, it might as well be extra creamy and extra good!).

Enjoy!